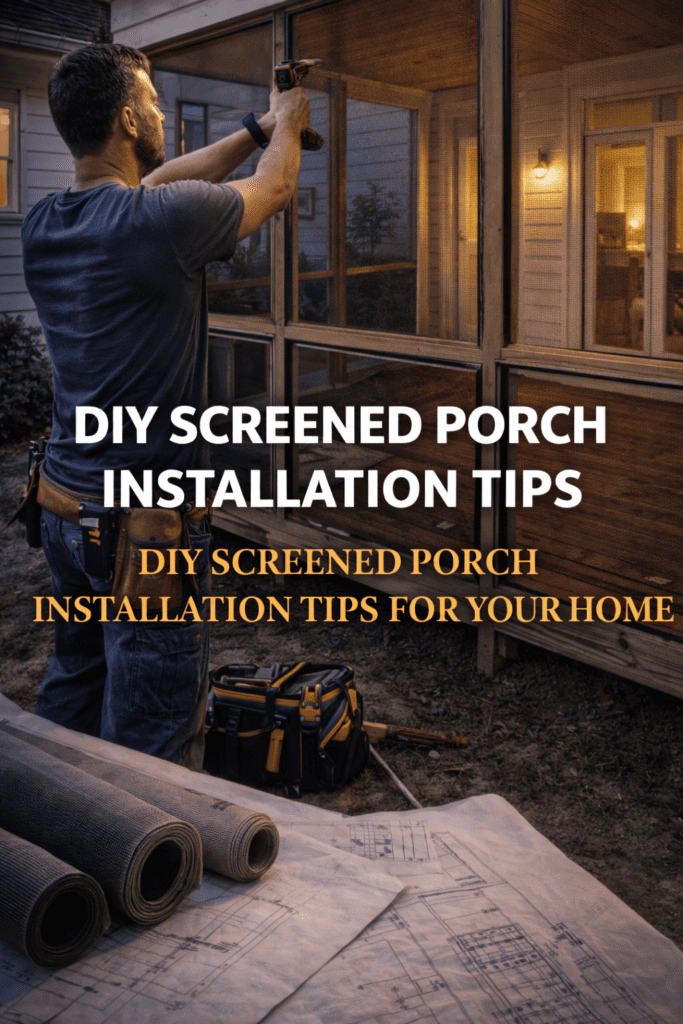
DIY projects can feel like a win… right up until you’re standing in your backyard at 9:30 p.m. staring at crooked framing, loose screen, and a door that won’t close.
A DIY screened-in porch can work, especially if you already have a solid covered porch and you’re comfortable with tools, measuring, and detail work. But here’s the truth most people learn the hard way:
Screened porches are not forgiving.
If the frame is off, the screen won’t sit right. If the screen isn’t tight, it will sag. If the door doesn’t seal, bugs will still get in, and the whole point is gone.
If you want to DIY it the smart way, these tips will help you avoid the most common mistakes homeowners make in Augusta and the CSRA.
Step 1: Be honest… is DIY realistic for your porch?
DIY is usually a better fit when:
- you already have a covered porch or patio roof
- the structure is level, square, and in good shape
- your layout is simple (mostly straight openings)
- you only need one door
- you are comfortable doing accurate measuring and framing
DIY gets harder fast when:
- the porch structure needs repairs
- you need new support posts or major framing
- you want multiple doors or a custom layout
- you need electrical for fans, lights, or outlets
- you want a high-end, finished look
If you’re aiming for “looks like it came with the house,” DIY can still be possible, but the margin for error is small.
Step 2: Start with the #1 rule… the structure must be solid
Before you buy screens, check the porch like a pro would.
Look for:
- soft spots in wood
- sagging areas
- loose railings or posts
- signs of moisture damage near corners
- uneven framing or sections that are out of square
If the structure is weak or uneven, do not screen over it. Fix it first. Otherwise, the screens and doors will fight you the entire way.
Step 3: Measure like you only get one chance (because you do)
Bad measuring is the fastest way to waste money.
Measure:
- every opening width and height
- the door opening (and space for swing clearance)
- diagonal corner-to-corner measurements for squareness
Pro tip: If the diagonals don’t match, the opening is not square. That means your screen frames may not sit correctly without adjustments.
Step 4: Choose a screen system that matches your skill level
There are different ways to install screen. Some are easier for DIY homeowners than others.
DIY-friendly systems usually help:
- keep screens tight
- create clean edges
- make repairs easier later
If you’re planning to staple screen to framing and call it a day, it can work, but it often looks less finished and may loosen over time.
This is where you decide whether you want “bug barrier” or “finished screened porch.”
Step 5: Pick the right screen material for real life
If your porch will get heavy use, cheap screen can cost you later.
Consider upgrading your screen if you have:
- kids who press against the screen
- dogs or cats that scratch or jump
- frequent gatherings and traffic
- windy conditions that shake the structure
Heavier-duty screen costs more, but it can prevent redoing the job in a year.
Step 6: Door planning is not optional
Here’s the tabloid truth: the door is usually where DIY screened porches fail.
If the door sags, it won’t close right.
If it won’t close right, it won’t seal.
If it won’t seal, bugs will still get in.
Plan the door before you finish the walls:
- reinforce the door opening framing
- make sure the opening is square
- plan where the door will swing
- choose hardware that feels sturdy
- use sealing options that reduce gaps
A screened porch can be built perfectly, and one cheap door can ruin it.
Step 7: Add bracing so your porch doesn’t “wobble”
Even if your porch feels stable now, screens can reveal movement.
If the frame flexes:
- screens can loosen or ripple
- corners can pull over time
- doors may shift alignment
Adding bracing helps keep everything solid. This is especially important in the CSRA where storms and wind can test outdoor structures.
Step 8: Make it look finished with trim and clean corners
DIY screened porches often look “DIY” because the finishing details are skipped.
To make it feel like a real upgrade:
- cover staple lines or rough edges
- use trim to create clean transitions
- align framing lines consistently
- keep corners clean and intentional
This is not just about looks. Clean finishing helps protect edges and can reduce screen damage from rubbing or snagging.
Step 9: Plan for comfort now, not later
Even if you’re doing DIY, think ahead.
Comfort upgrades that make a huge difference:
- ceiling fan support
- lighting (even simple warm lighting)
- outlets for chargers, speakers, or a TV
- layout planning for furniture and walking space
A porch that feels good at night is a porch you will actually use.
The “stop and call a pro” moments
DIY is great until it isn’t. If you run into these issues, it may be smarter to bring in help:
- rotten framing or major wood damage
- a porch that is out of level or shifting
- roof tie-in or structural support needs
- repeated screen loosening or tearing
- a door that won’t align and seal
- plans for electrical work that you’re not comfortable with
Sometimes DIY becomes more expensive when you have to undo mistakes later.
Bottom line
DIY screened porch projects can work if the structure is solid, the measurements are accurate, and you treat doors and screen tension like the main event, not an afterthought.
But if you want a screened porch that stays tight, looks finished, and keeps bugs out for the long run, professional installation can save time, frustration, and costly do-overs.
K&K Exteriors: Discover Custom Patio Covers & Screen Rooms in Augusta
Contact K&K Exteriors: Schedule Your Estimate for Exterior Improvements: Get a Screen Porch Estimate in Augusta